Installing tiles can change a room, but getting perfectly even tiles isn’t always easy. Irregular heights, tiny gaps, and lippage (raised tile edges) can ruin the look of your project. That’s where tile leveling wedges and tile clips and wedges come in. These simple yet useful tools help keep tiles aligned, providing a smooth, professional-looking finish, whether you’re using ceramic or porcelain tiles.
What Are Tile Leveling Wedges and Clips?
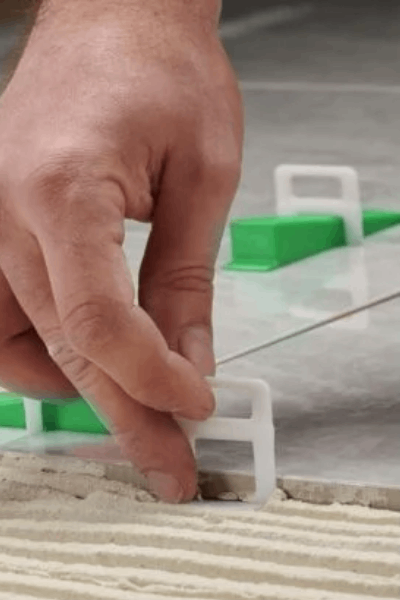
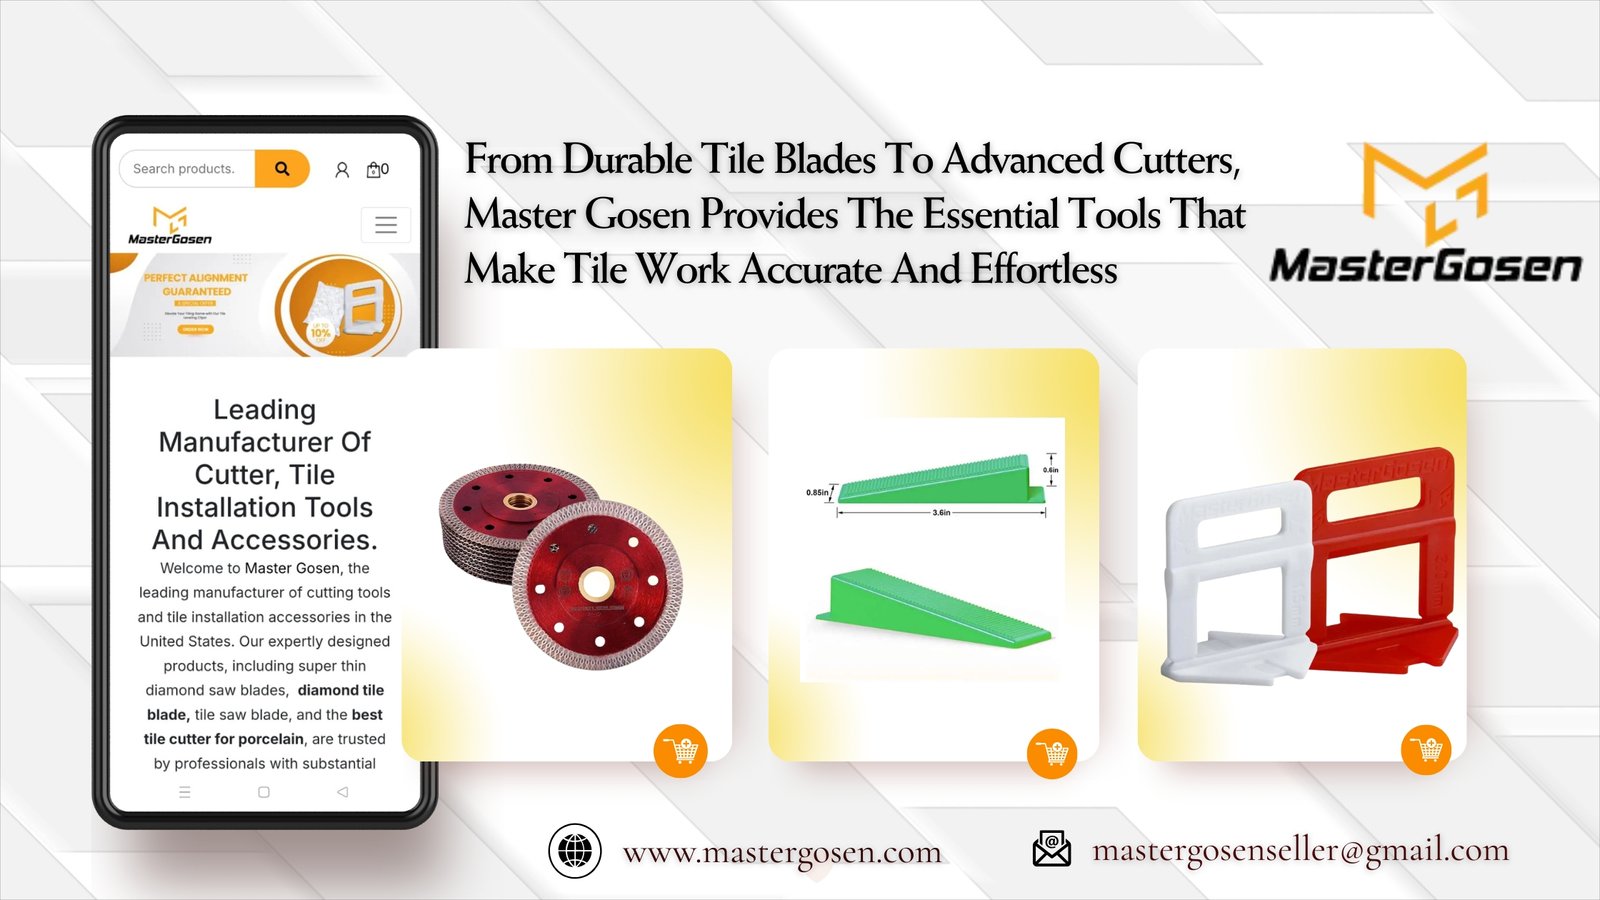
Tile clips and wedges are part of a tile leveling system. The clips are placed under the edges of the tiles, while the wedges are inserted into the clips to hold the tiles tightly in place. This system prevents uneven surfaces by keeping each tile at the same height during installation.
Tile leveling wedges are reusable, whereas clips are typically designed for single-use. Together, they make it much easier and faster to achieve consistent spacing and level surfaces, especially for beginners.
Why Use Tile Leveling Wedges in Tile Installation?
- Prevents lippage – keeps tiles even with one another
- Speeds up installation – less time adjusting tile height
- Improves accuracy – ensures uniform grout lines
- Works on different materials – effective for ceramic and porcelain tiles
How to Use Tile Leveling Wedges and Clips
Step 1: Prepare Your Tiles
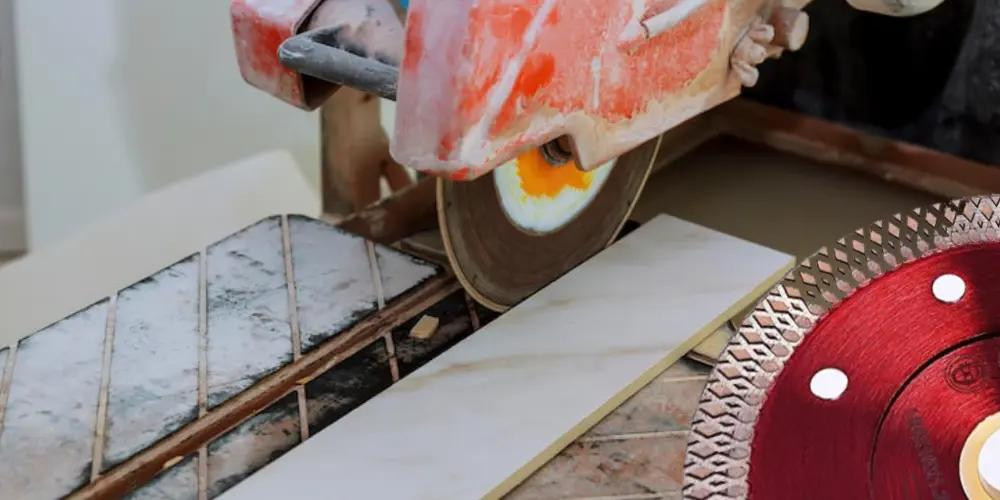
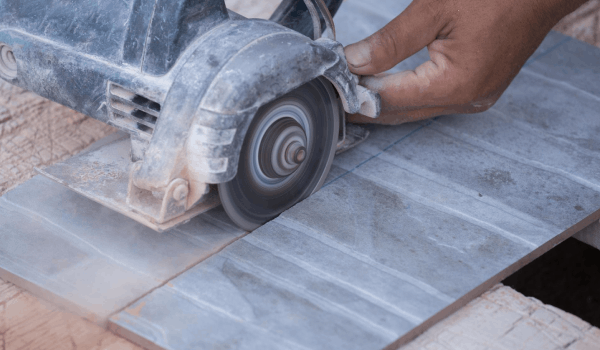
Before you begin, cut your tiles to the required size using the right tool. For ceramic tiles, a ceramic tile cutter is ideal, while for harder porcelain tiles, you’ll want a porcelain tile cutter. If you need to make detailed or angled cuts, using a tile blade for grinder can help you achieve clean results.
Step 2: Place the Clips
Slide the base of the clip under the edge of the tile. Position them evenly on all sides, especially at corners where multiple tiles meet.
Step 3: Insert the Next Tile
Lay the next tile against the clip, making sure it is snug and properly aligned.
Step 4: Add the Wedge
Push the tile leveling wedge into the clip until the tiles are firmly held in place. This locks the tiles together and prevents shifting while the adhesive dries.
Step 5: Remove After Drying
Once the adhesive has cured, remove the clips by gently tapping them with a rubber mallet or kicking them along the grout line. The wedges can be collected and reused for your next project.
Pro Tips for Perfect Results
- Use a porcelain tile cutter for tough materials to avoid chipping.
- Keep extra tile blades for grinders on hand if you’re cutting a large number of tiles.
- Always double-check your spacing before inserting the wedges.
- Don’t overtighten the wedges—firm pressure is enough.
Final Thoughts
Achieving a smooth, level tile surface doesn’t have to be complicated. With the right tools—tile leveling wedges, tile clips and wedges, a reliable ceramic tile cutter or porcelain tile cutter, and even a tile blade for grinder—you can tackle your tiling work with confidence.
By combining patience with these essential tools, you’ll end up with a floor or wall that looks just as good as a professional installation. Visit Master Gosen to learn more about tiling tools.